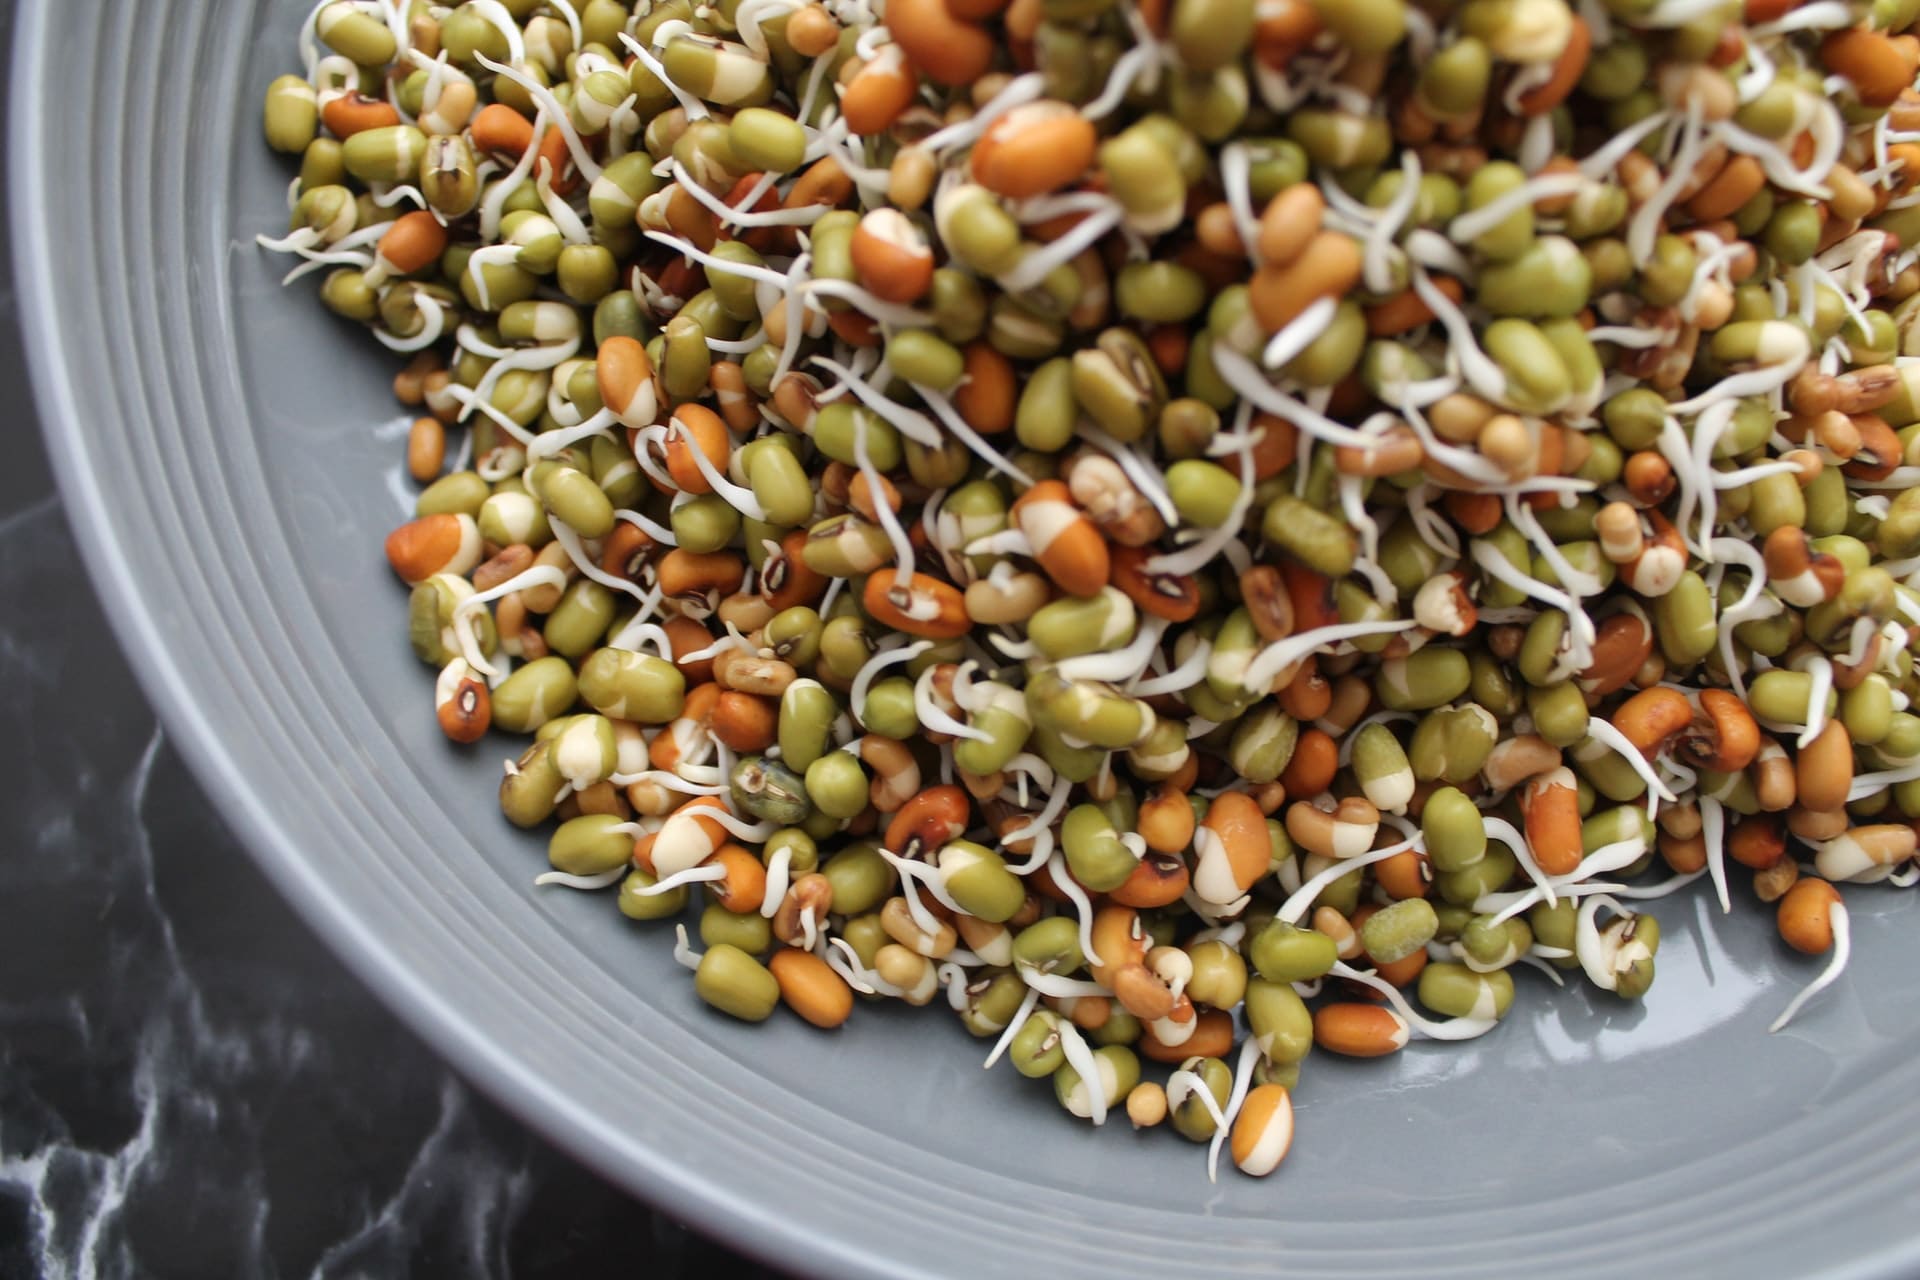
Mung bean sprouts are a delicious and healthy addition to any meal. Not only are they packed with nutrients, but they’re also easy to grow at home. Here, we’ll show you how to grow mung bean sprouts yourself in no time with little effort and some patience.
We’ll cover everything from choosing the right beans to harvesting and storing your sprouts. And it doesn’t matter how inexperienced you are — just follow our easy tips and tricks, and you’ll be able to enjoy fresh mung bean sprouts at any time of the year!
What Are Mung Bean Sprouts?
As their name suggests, they’re germinated (sprouted) mung beans. They’re common in Asian cuisine and dishes such as stir-fries, soups, and salads.
What Are Sprouted Mung Beans Good For?
One look at mung beans‘ nutritious profile reveals their various qualities:
- They’re rich in various vitamins:
- Vitamin C
- Folate (vitamin B9)
- Thiamin (vitamin B1)
- Pyridoxine (vitamin B6)
- Panthotenic acid (vitamin B5)
- Riboflavin (vitamin B2)
- Niacin (vitamin B3)
- They’re an excellent source of minerals:
- Iron
- Copper
- Potassium
- Manganese
- Zinc
- Selenium
- Calcium
- Phosphorus
- Germinated mung beans are low in calories
- They’re low in fat
Compared to beans, mung bean sprouts have the following advantages:
- A crunchier texture
- They’re easier to digest
- More vitamins
- Fewer calories
- Higher protein content
What’s more, mung bean sprouts don’t contain cholesterol or gluten. This makes them an excellent food source of protein in a gluten-free diet plan.
How to Sprout Mung Beans at Home
Now that you know what germinated mung beans bring to the table, it’s time to see how you can grow these crunchy sprouts at home.
There are three fool-proof ways to do this:
- Method 1: Use a mung bean sprouting kit. They can be found online or in health food stores, and they come with everything you need to get started, including a guide.
- Method 2: Use a mason jar. If you’d rather not buy a kit, you can grow mung bean sprouts in a mason jar. All you need is a wide-mouth jar, a piece of cheesecloth, and some rubber bands.
- Method 3: Use a colander or another type of strainer. This method is similar to the mason jar method, but instead of a jar, you’ll need a colander or strainer with small holes and paper towels.
No matter which method you decide to go with, the process is very similar.
How to Grow Mung Bean Sprouts in a Jar
Producing homegrown mung bean sprouts is fairly easy. You don’t need special equipment — just a handful of mung beans, some water, cheesecloth, and a suitable jar.
Once you get these, only six steps separate you from adding fresh mung bean sprouts to your meal:
Step 1: Choose Quality Beans
You can find mung beans in most grocery stores, either in the bulk section in the supermarket or near the dried beans. If you’re unsure which type is the best for growing mung bean sprouts at home, look for the ones labeled “sprouting mung beans.”
These are of the highest quality and are less likely to contain impurities that could hinder sprouting.
Step 2: Soak the Beans
To get started, wash the mung beans thoroughly. Then put them in a bowl and soak them in water overnight (9–12 hours). Don’t forget to keep the bowl open to prevent your sprouts from developing an unpleasant odor (or cover them with a mesh strainer basket).
For every cup of sprouted beans, you’ll need about 2.5 cups of water. So, if you’re planning on growing many sprouts, make sure you have enough water on hand.
Keep in mind that the mung beans will double in weight and size, so choose a big enough container.
Step 3: Put the Beans in a Jar
Drain and rinse the beans the next morning, and then place them in a disinfected mason jar or another glass container that you’ll close with cheesecloth and a rubber band.
Make sure you use a wide-mouth jar that has enough room for the sprouting of the mung beans to be even. At harvesting, the amount of produced sprouts will be threefold the beans‘ volume. So, half a cup of mung beans will yield about 1.5 cups of sprouted beans.
Additional tip: Keep the beans away from direct sunlight, or you risk bitter-tasting sprouts. Instead, place the jar in a shady corner of your kitchen or cover it with a cloth.
Step 4: Soak for 12 Hours
Cover the beans with cool fresh water 2–3 times their volume and secure a cheesecloth or a coffee filter over the top of the jar. After soaking them for 12 hours, drain and rinse the beans. At this point, you should be able to see the sprouts forming.
Step 5: Rinse Twice a Day
Continue rinsing the beans twice a day and draining them thoroughly. This will keep them moist and prevent them from drying out.
But, how long does it take for mung bean sprouts to grow?
Mung beans sprout super-fast! They can reach the edible size in only 3–5 days. Keep in mind that temperature (70–80°F gives the best results) and humidity also affect their growth and can speed up or slow down development.
Step 6: Dry and Store
Once the sprouts reach the desired length, you can remove the mung bean sprouts from the jar and transfer them to a sterile container with a lid.
You can store the sprouts in the refrigerator or freezer, eat them raw, or add them to your favorite meals prepared on your trusty induction cooktop.
How to Sprout Mung Beans in a Colander
You’ll need a colander or any other strainer, a suitable bowl, and some paper towels for this method.
Here are the instructions:
- Wash and soak the mung beans overnight in a suitable container.
- Rinse and drain the beans in a colander.
- Put the colander in a bowl and cover the opening with a damp paper towel.
- You can also add some weight on top in the form of a loose-fitting plate to promote the growth of thick mung bean sprouts.
- Let the covered beans sit in a dark place overnight.
- Rinse the mung beans in the colander and drain the water the following day.
- Place the colander in the bowl again, and add another damp cloth over the opening on the top.
- Repeat the rinsing and change of paper towels until your sprouts are ready for harvesting.
- Then, rinse, dry, and consume!
How to Store Bean Sprouts
Mung bean sprouts can be tricky to store.
Here are our top tips on how to keep your mung bean sprouts fresh:
- Dry them well (this will prevent rotting).
- Divide the sprouts into manageable portions (enough for the dish you’re planning). Then put them in the refrigerator.
- Don’t wash your sprouts until you’re ready to use them. Washing them too early will cause them to spoil faster.
- Use an airtight bag or container lined with paper towels. This will protect the sprouts from drying out and losing their crunch.
- To extend the shelf life of your sprouted mung beans even further, you can blanch the mung beans before storing them in the fridge. To do this, put the sprouts in a metal colander and into boiling water for three minutes. Then immerse them in ice water for a few minutes.
- You can freeze mung bean sprouts for up to 10 months.
Conclusion
With little care and effort, you can easily grow mung bean sprouts at home. It’s a fun and easy project that can be completed in just a few days. Just follow our simple instructions, and you’ll be able to grow thick, healthy mung bean sprouts, which are a great addition to a vegan diet.
Have you ever grown mung beans before? We would love to hear from our readers, so let us know in the comments below.
FAQ
How long does it take to grow mung bean sprouts?
You’ll see your mung beans sprouting in just one day. However, it takes about three to five days for the little sprouts to grow to an edible size. You’ll know they’re ready for harvesting when they develop a white root end and become thick.
Can I sprout my own mung beans?
Yes, you can! All you need is a mason jar or a colander, a bowl, some water, and a few days’ patience. By following our guidelines described above, you’ll be able to grow crunchy mung bean sprouts at home in no time.
Can you eat mung bean sprouts with leaves?
When the sprouts are of edible size (in three to five days), they don’t have leaves. So, mung bean sprouts are usually not grown long enough to develop leaves. However, if they do, they’re edible too.
One thing, though — avoid eating these raw since they might upset your stomach.
How long do sprouted mung beans last?
This depends on the storage conditions. If you put them in the refrigerator in a closed container lined with paper towels, they can last for up to two weeks.
Otherwise, they can begin to rot in only a few days.
Why are my mung bean sprouts bitter?
There are several reasons why homemade mung bean sprouts can develop a bitter taste. Most likely, this is due to sunlight exposure. Other times, this is the result of over-sprouting or the presence of hulls in your dish.
To avoid bitter bean sprouts, follow our instructions on how to grow mung bean sprouts closely, and you’ll have delicious crunchy spouts at all times.