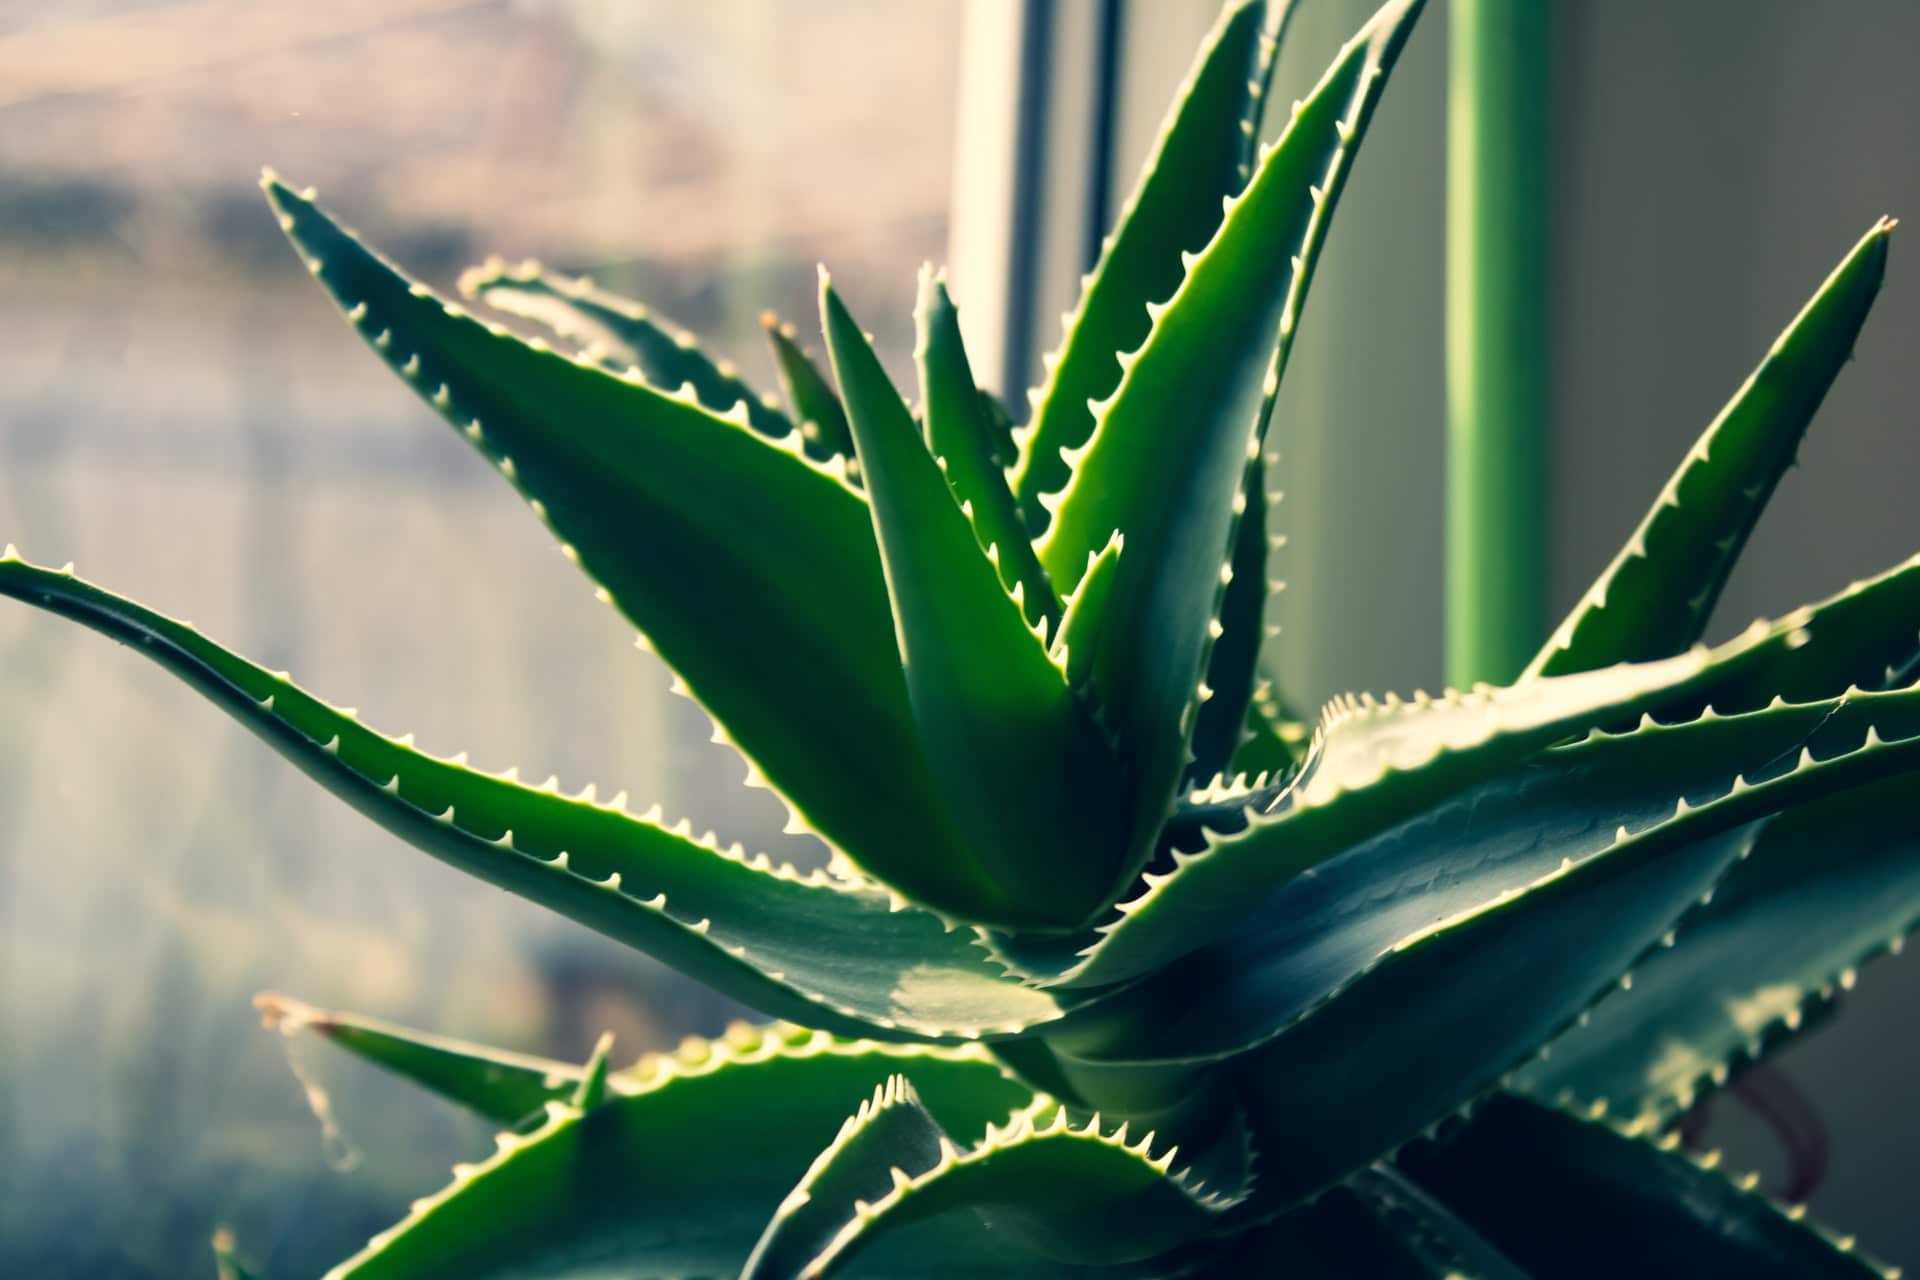
If you have an aloe plant in your home, you know how invaluable the gel can be for your skin, hair, and overall health. Yet, if you want to reap the full benefits of this amazing gel, you need to take good care of it!
In this article, we’ll teach you how to cut an aloe vera plant, how to grow it, and how to take care of it effectively. We’ll also review all the ways you can store the leaves and gel without losing any of its potency.
Now, let’s get to the root of the problem:
When Can I Cut an Aloe Vera Leaf From a Plant?
The harvestable part of the plant — the aloe leaves — can be cut approximately eight months after planting, depending on their maturity. Moreover, it takes around three to four years for aloe vera pups to fully mature, and about four years for the first flowers to appear.
Although this might sound slow compared to other plants, aloe vera plants are, in fact, one of the fastest-growing succulents.
Speaking of time…
How to Harvest Aloe Vera Faster?
Even though this tropical plant isn’t high maintenance, you’ll get better quality gel if you take good care of it. Not only that, but you can also speed up the harvesting process and get better yields.
Here are a few neat gardening tips to help you grow your aloe vera plant faster:
Choose a Well-Draining Potting Soil
The goal is to prevent aloe vera roots from rotting due to excess water. Buying a suitable potting mix (two parts sand, two parts gardening soil, and one-part perlite or pumice) for your succulents will make sure they reach their full potential.
Ensure a Minimum of Six Hours of Light Per Day
Expose your plant to plenty of sunlight whenever you get the chance. Otherwise, it may lose its attractive, compact form and begin to stretch. Plus, more sunlight equals more food. In other words, it will mature faster.
The faster it reaches maturity, the faster you can cut an aloe vera leaf from the plant for your smoothies.
Though be careful not to scorch your precious plant. Believe it or not, it can sunburn just like us. So do it gradually and avoid placing it in the midday sun after lying in the shade all morning.
Place Aloe in a Porous Container
To preserve aloe roots, use a clay, terracotta, or similar moisture-absorbing container pot. It should also come with drainage holes to prevent the water from gathering at the bottom.
Trim, But Not Too Often
To keep it strong and healthy, you need to cut a piece of the aloe vera plant every now and then. However, make sure you only trim older foliage and damaged parts of the plant. You don’t want to accidentally cut a leaf that’s still developing.
Provide the Right Nutrients
Like any lifeform, aloe vera requires sustenance. And adding banana peels to the soil will do wonders for your plants. For one, it will make it more resistant to nasty pests, helping it flourish in the long run.
You can also fertilize the soil twice a month during its growing season, which is between April to September.
Water Only When the Soil Is Dry
Sometimes, less is more; especially when caring for succulents.
You should water your aloe plant only when the soil is completely dry to prevent it from rotting. Once every three weeks and even less in colder climates, to be precise. That way you won’t risk drowning your beloved greenery.
If you want your lovely plant to stand the test of time, be sure to check:
How to Cut an Aloe Vera Plant Without Killing It
To get the most out of that nutritious, skin-soothing gel, you need to be extra cautious when cutting your aloe leaves. Here’s the gist of it:
- Cut it only during its growing season. This will help it heal and recover, allowing it to grow new foliage quicker.
- Focus primarily on outer, older foliage. Don’t touch the smaller leaves at the center of the plant, lest you risk killing it.
- Don’t prune it too often! Every cut is a loss of essential nutrients and water for your aloe plant. Cut only damaged or dead parts of the plant.
- Harvest up to four leaves per season max. More than that and you risk starving your plant as it won’t be able to produce its own food.
You’ll need more than one aloe vera plant for your products — hence why you have to learn:
How to Cut a Piece of Aloe Vera Plant for Repotting
Frequent repotting is vital if you want to keep your plant healthy. Namely, aloe vera plants require plenty of space to grow; particularly as they get “older.”
Once mature, these plants propagate by growing so-called pups (shoots) at their base — hence the need for more space.
To do so, separate the main sprout (mother plant) and the pups. After that, simply replant them in separate containers; your plants will love you for it. Do this as soon as the offshoots develop a few sets of leaves.
Here’s how to cut and use aloe vera plant pups in more detail:
- Unpot your plant. Use a trowel to separate the soil from the edges of the container. Then gently brush away the soil to expose the roots.
- Identify pups and their roots. At the very bottom of the plant, you’ll be able to identify the offshoots relatively easy. Note that each one has its own set of roots that you need to look out for when cutting.
- Split the pups. To cut your aloe vera plant without killing it, you need to keep it safe from infection. Use a sharp knife and make sure you sterilize it with alcohol beforehand.
Start by making a small cut along the body of the mother plant to separate its pups. Pull them gently from the soil and remove any roots that look brownish or damaged while you’re at it.
- Transplant the pups into separate pots.
Let’s take a closer look at:
How to Cut an Aloe Vera Leaf for Gel Step By Step
Aloe vera gel — which comes from the plant’s green, plump leaves — is used in various products, ranging from smoothies to face masks. Hence the increased demand.
Yet, before you start chopping your plant into tiny bits… Make sure you leave at least five to six of its leaves so it can sustain itself with photosynthesis.
Step 1: Pick the Ripe Leaves
First, pick a healthy leaf; you can tell whether a leaf is ripe and ready to be harvested by its size and appearance.
Mature aloe leaves are 8–10 inches in length. They are bright green and unblemished. Moreover, ripe leaves are thicker and closer to the stem.
Step 2: Sterilize and Cut
When learning how to cut an aloe vera plant the most important thing is to use a sharp and clean blade. Pick one from the sharpest knife set you have and sterilize it by rubbing alcohol on it.
Alternatively, use sharp gardening scissors; just make sure they’re large enough to cut the base of the leaf you wish to harvest. Slice the leaf as close to the stem as possible, but try not to damage it. Also, use gardening gloves to protect yourself from the plants’ prickly leaves.
When you cut an aloe vera leaf from a plant, do so at a slight angle to help the plant heal itself faster.
Step 3: Let the Aloin Drip Out
If you plan on putting it in a portable blender and making a smoothie, get the yellow sap (aloin) out of your aloe vera gel first.
This mildly toxic liquid will start dripping as soon as you cut it. Place the leaf in a bowl and let it drip away for a couple of hours. After that, just rinse it with cold water.
Step 4: Remove the Top Skin of the Leaf
Place the leaf on a cutting board or table and start cutting its prickly edges off. Next, remove the upper skin with a blade to expose the gel.
Step 5: Scoop the Gel
Using a sterilized spoon, scoop the aloe gel and place it in a container before using it.
After that, you need to learn:
How to Store an Aloe Vera Leaf and Gel Effectively
Once you’ve cut your aloe vera leaf, it’s time to store it. Cover it in plastic wrap and hold it in the fridge. This will keep the leaf fresh for four days up to a week. The same goes for the refrigerated gel; after which it becomes brown and worthless.
Another thing you can do to keep your aloe gel fresh is to freeze the whole leaves. Pack the cut end of the leaf in a plastic wrap and place it in a freezer bag. That way you can extend the shelf life of both the gel and the leaf for several months.
Last but not least, you can simply freeze the gel in ice cube trays. Once frozen, transfer the cubes to a clean and labeled freezer bag to store them. And remember, frozen aloe gel can last up to eight months, more or less.
Conclusion
When you learn how to properly cut an aloe vera leaf from its plant, the whole experience can be quite rewarding; not to mention fun! Still, you need to take great care so as not to harm either yourself or the plant.
And remember, you’ll need more than one aloe vera plant to make your aloe smoothies and skincare products. Follow these tips and enjoy the benefits of this succulent for years to come. Happy harvesting!
FAQ
Does aloe vera grow back after cutting it?
No, aloe leaves don’t regenerate after being cut. However, aloe plants do recover by sprouting new baby leaves to replace the harvested ones. Likewise, the place where you make the cut (near the stem) will seal up and heal itself within two to three days.
When can I cut my aloe vera plant?
About three to four years after planting a pup, the aloe plant should have sufficient leaves to sustain itself even when you make a few cuts. Harvest the biggest, unblemished leaves on the top, and avoid the smaller ones that sit closer to the base.
How to store an aloe vera leaf?
You can either freeze or refrigerate your whole aloe leaves for later use.
To do so, cover the cut aloe leaf in a clean plastic wrap; make sure it covers the entire leaf base (aka, the cut area). After that, place it in the fridge. Once there, the leaves will stay fresh for up to a week; perhaps even two (depending on the quality).
If you need to store the leaves for longer, simply wrap them, place them in a freezer bag, and put them in the freezer. That way, you can safely use them for up to eight months.
What to do with the aloe vera plant after cutting it?
There’s not much to do after cutting your aloe plant. When done by the book, the plant heals itself and regrows skin within just a few days. Better yet, the loss of foliage will “encourage” it to grow new leaves faster!
Simply follow these tips and you’ll learn how to cut an aloe vera plant without much fuss.

